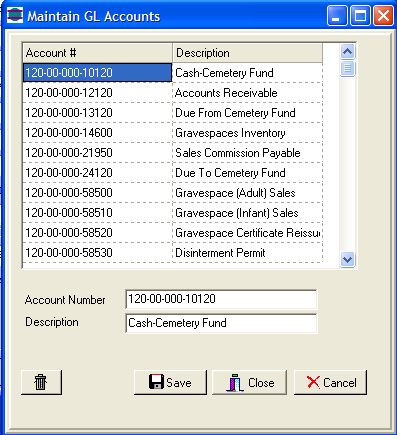
GL Accounts are attached to Contract Types, Company Setup,
Discount Types and Products/Service
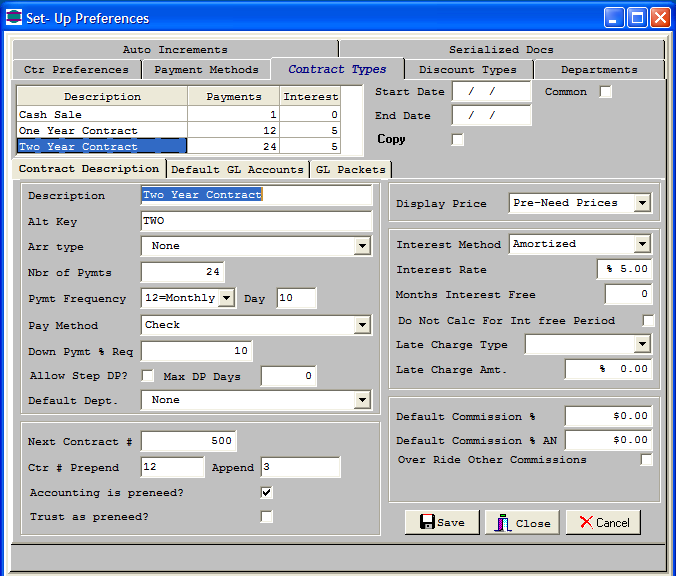
Contract Types drive how invoices are Amortized,
which prices to use and the order in which items are paid.
Default GL Accounts are attached for Allowance,
AR, Bad Debt, Discounts and Interest. Any special GL entries
are set up as GL packets.
The purpose of Payment Methods is to set default Cash Accounts
for specific types of payments or Credits. Trust Reimbursements are
usually set up to Debit a different Bank Account than the regular Corpus
account.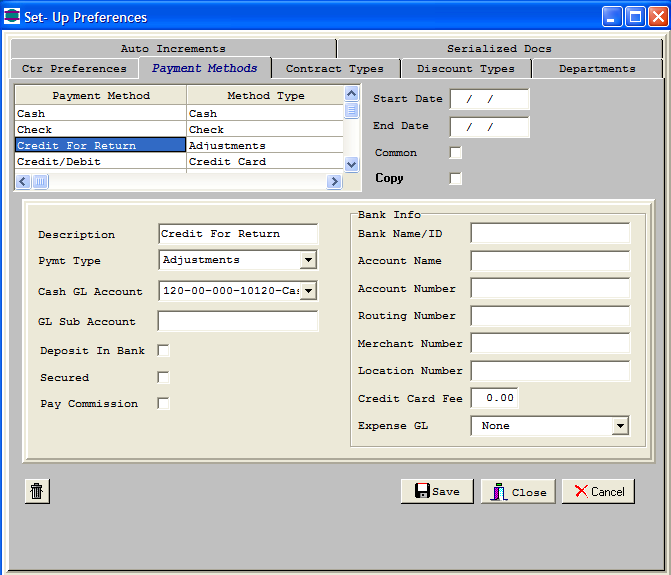
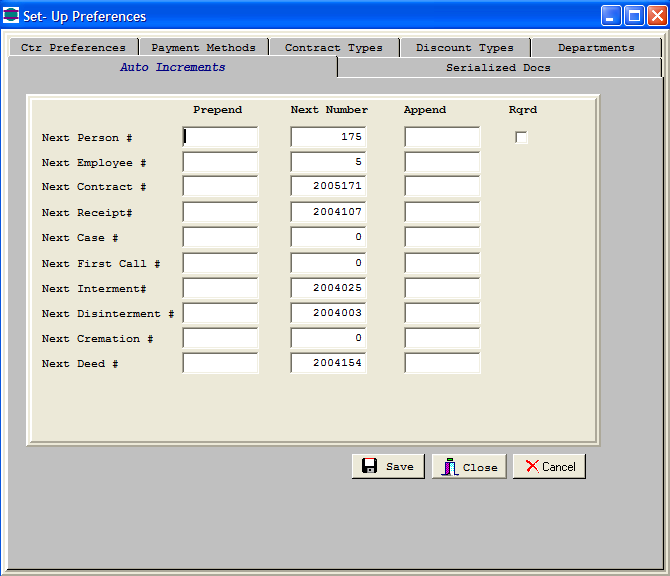
You can automatically generate the following
numbers throughout Sterling. Prepend is where you might always
preceed a number with another number and Append is the number that
follows.
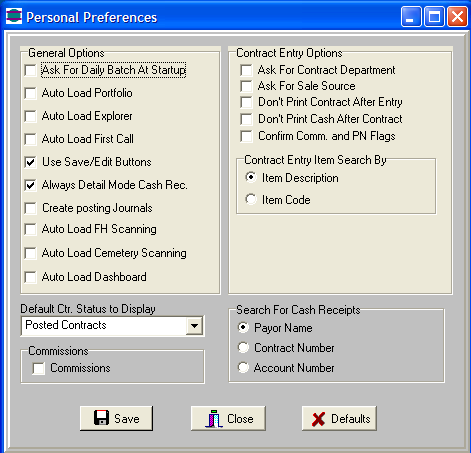
Personal Preferences are setup per
workstation to give each person in your organization the ability
to tailor how Sterling works for them.
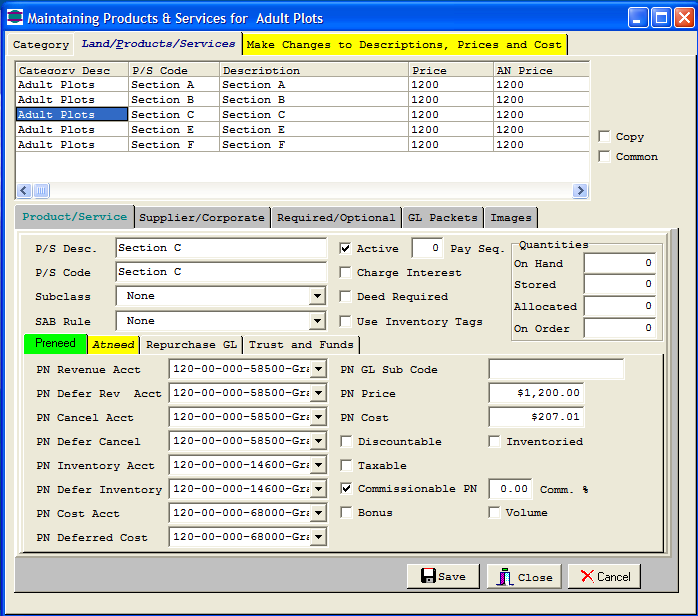
Categories of Products and Services are setup
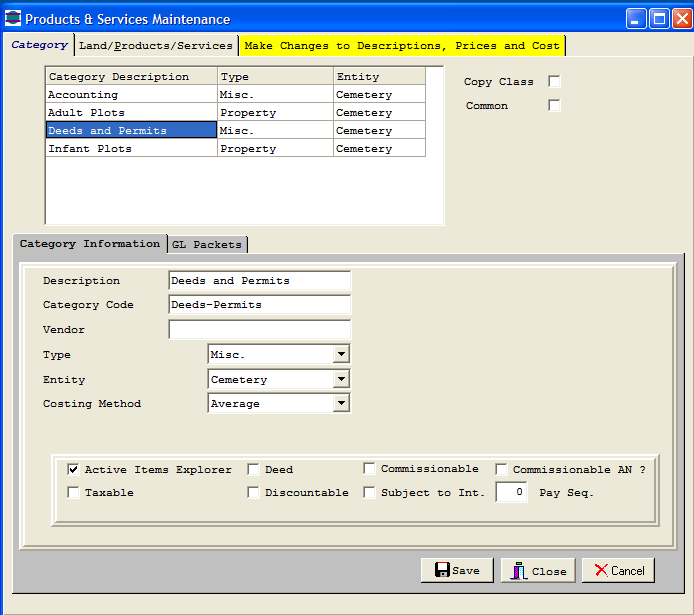
Within each Category are all the sub-items for
that Category. Double Click the item on the table to load
the bottom part of the screen.
If you need to make additional Products or
Services, pick one that is similar, and click the copy button.
Everything except the Code and Description will copy over.
-
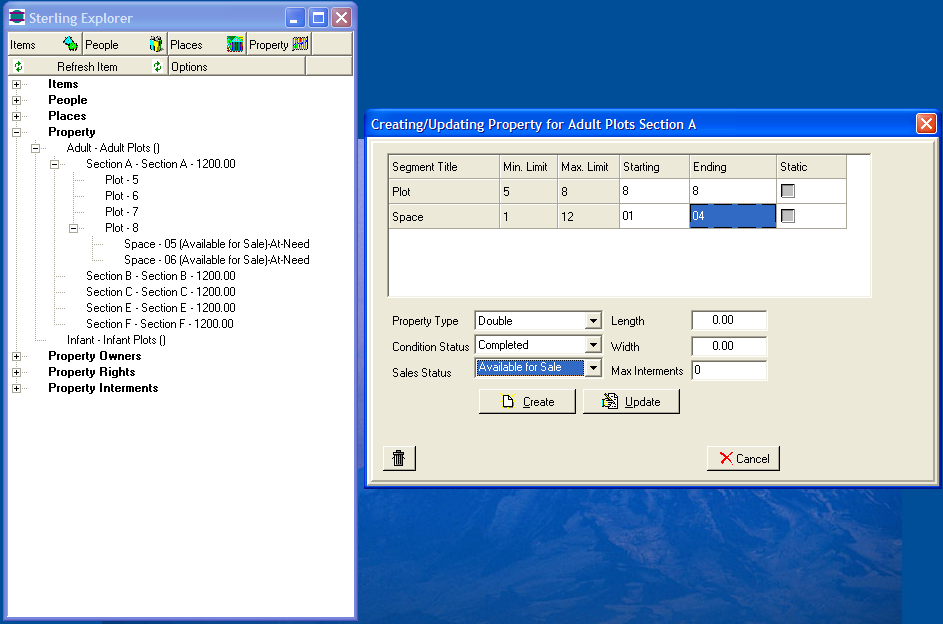
Create your Cemetery Sections in Maintain
Products/Services
-
Set up how each Section is configured.
You are not limited in how you set up your Cemeteries.
You might have Sections-Lots-Spaces, or Building-Wall-Crypt,
or Section-Block-Row-Grave. Specify whether the segment
is numeric with 9's and Alpha with A's.
-
The Segment mask defines how many
characters or digits you want.
-
If you want the computer to read
numerically the way we read 1,2,3,4,5,6,7,8,9,10,11 then
zero fill your digits. Computers read 1 then 10
unless there is a zero in front of the first 9 digits.
-
Click the "Create/Update Property" button
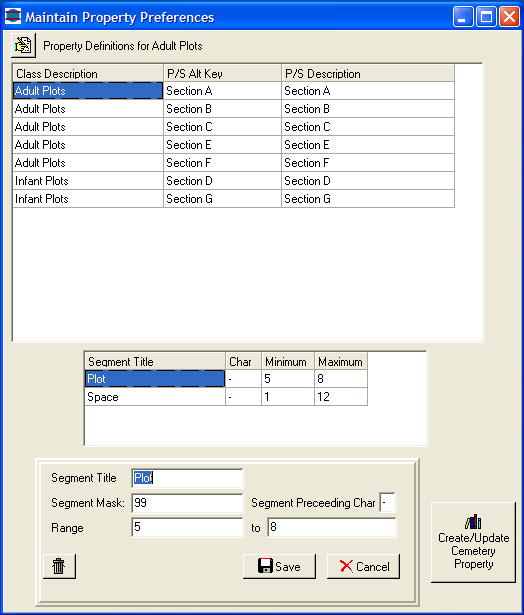
The following example shows a situation where Plot 8 should have
graves 1 through 12, but only has 5 and 6.
Keep both the starting and ending number 8 for Plot, have the
starting and ending number for Space 01 to 04. Then do it
again for Spaces 07 to 12.
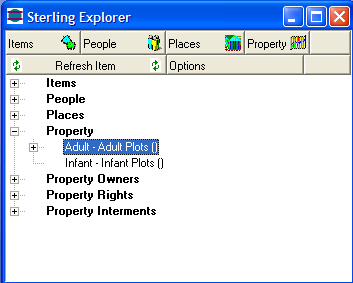
To refresh the Sterling Explorer, click the minus one level above
that level, then click the refresh button


 Made in USA